
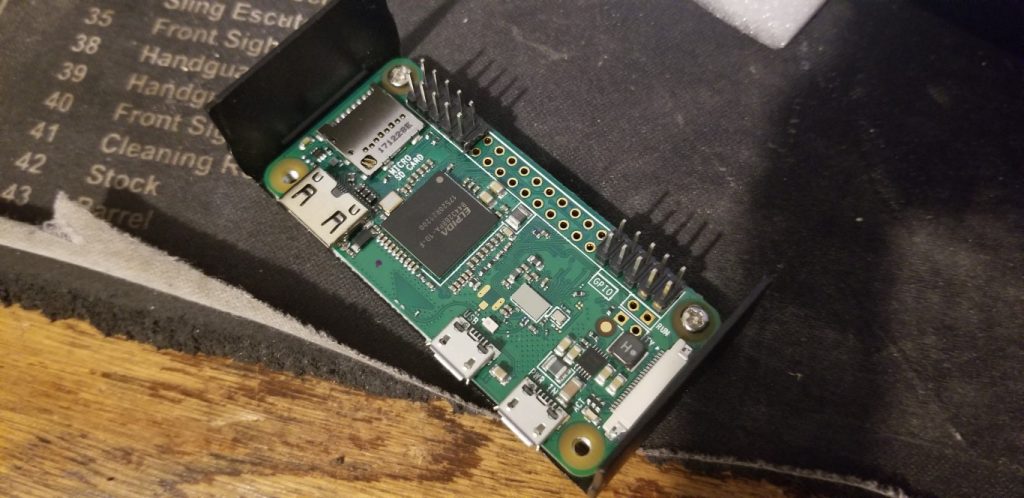
So, it looks like DMR is really making the rounds and I found myself interested. After looking into it, one of the cool things I discovered was the ability to create your own DMR gateway using a DMR hotspot that can be purchased as a kit or fully assembled. The hotspot typically consist of a digital board with a built in low power UHF/VHF transceiver that connects to a small form factor board computer of some type, usually the Raspberry Pi. The computer provides the control of the board and the connection to the internet via (usually) wifi. There are quite a few types of hotspots out there, but they all fall into the two basic categories of simplex and duplex. I opted to go the simplex route (cheaper), but will probably wind up buying a duplex version down the line just to test it out.
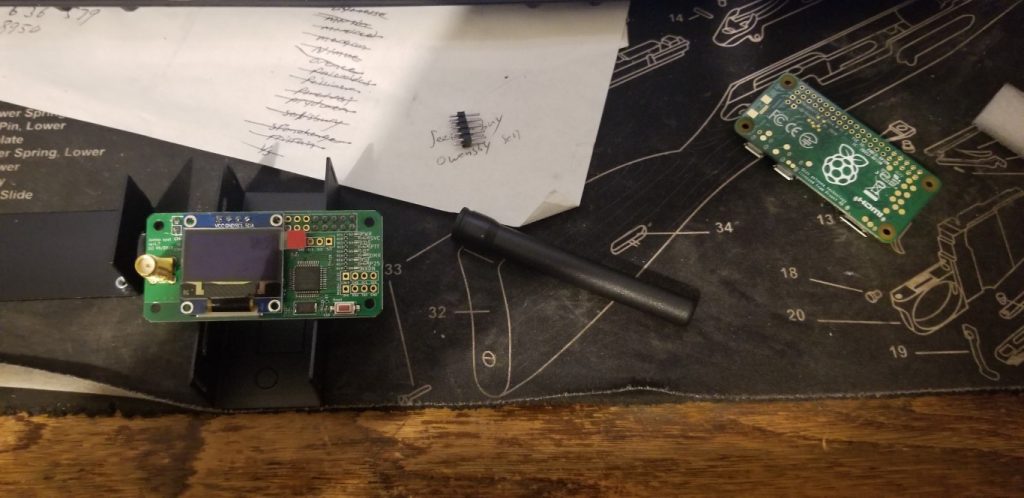
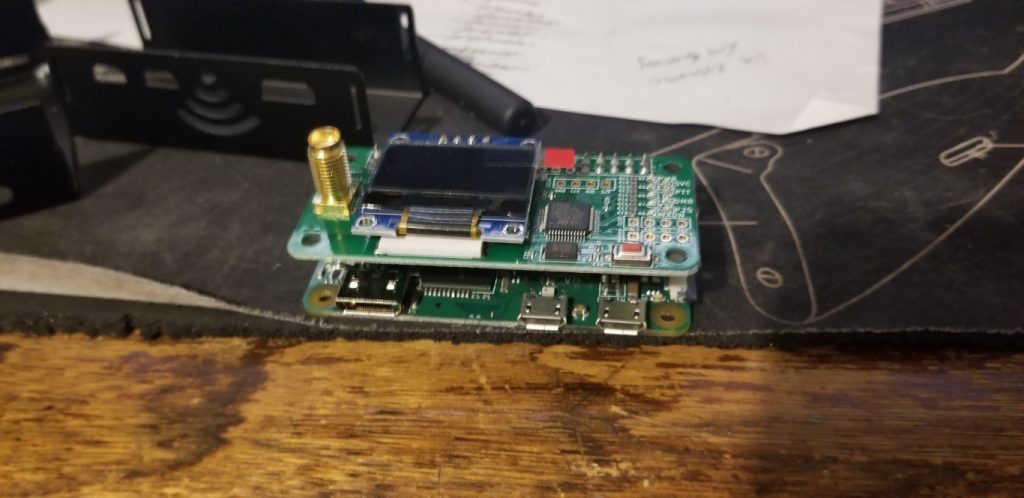
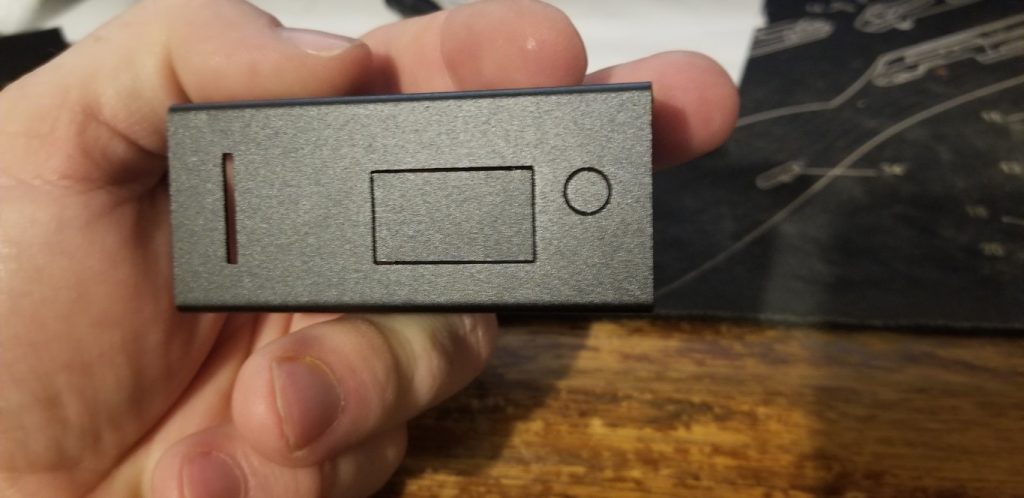
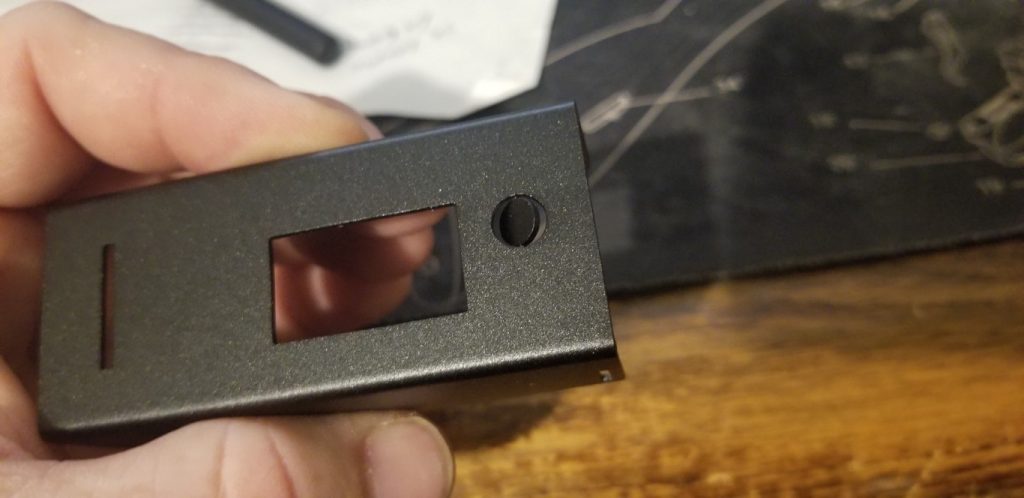
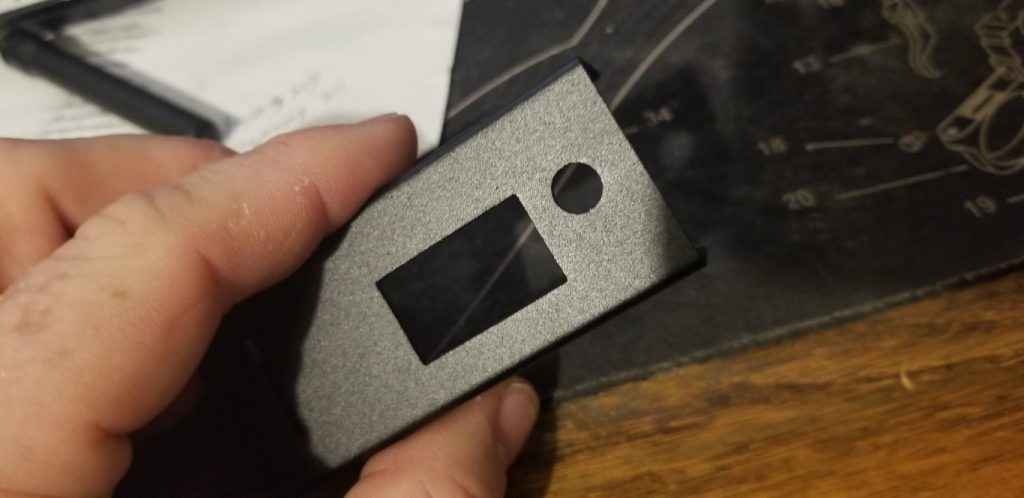
Within the simplex category of DMR hotspot, there are quite a few variations and manufacturers to choose from. The price range goes from sub-$100 to several hundred depending on whether it is a kit, prebuilt, built & configured…the list goes on. You have Jumbospot, ZUMspot, DVMega, several by SharkRF, DV4mini and Nano-DV just name name a few. I had a rather low amount budgeted so my main factor going into this was price. At the time of my purchase, the cheapest option was the Jumbospot purchased as a kit without the Raspberry Pi Zero that controls it. I purchased a kit with the Jumbospot board, case, antenna, OLED display and some hardware on eBay for about $45. The Raspberry Pi Zero, I picked up at
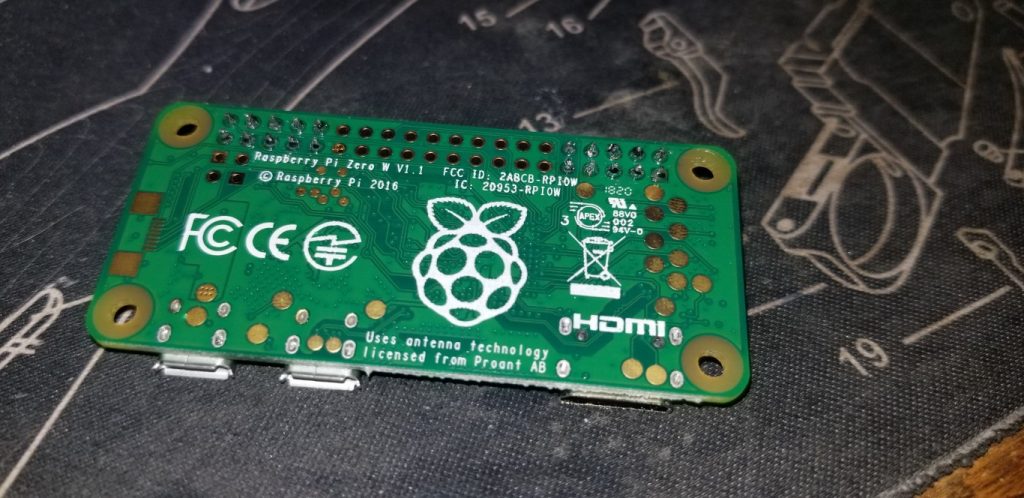
Limor “Ladyada” Fried’s (AC2SN) website, adafruit.com. I chose the version of the Pi without the headers to save a few dollars as the Jumbospot kit comes with the needed headers for the board. The Pi cost $10, and I opted to add one of the quality 5V 2.5A micro USB switching power supplies that can be purchased there as well for $7.50. I already had the microSD card on hand, but if you don’t have one they can be picked up pretty cheap anymore. There is software needed to make this all run, and that can be found on the Pi-Star site. Pi-Star is a fantastic bit of work by Andy Taylor (MW0MWZ), who credits quite a few people for assisting in the great product we now have.
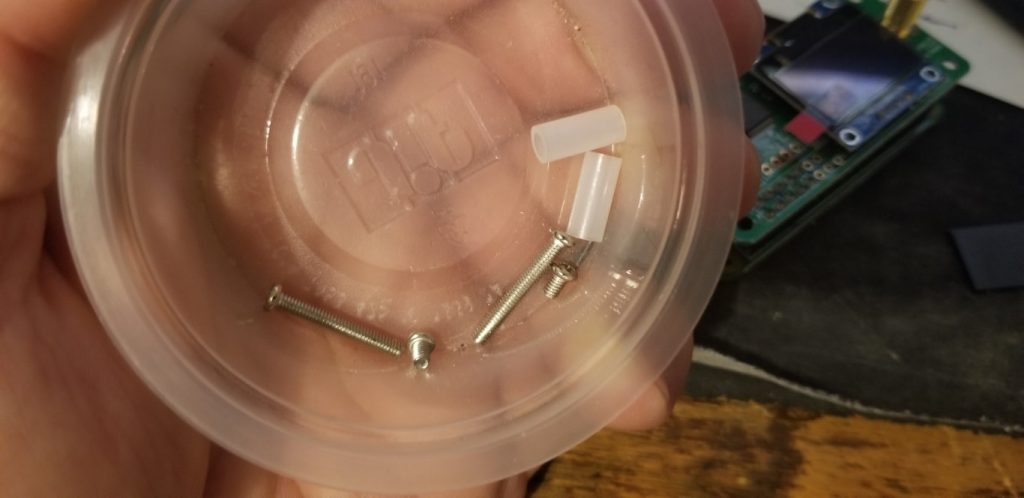
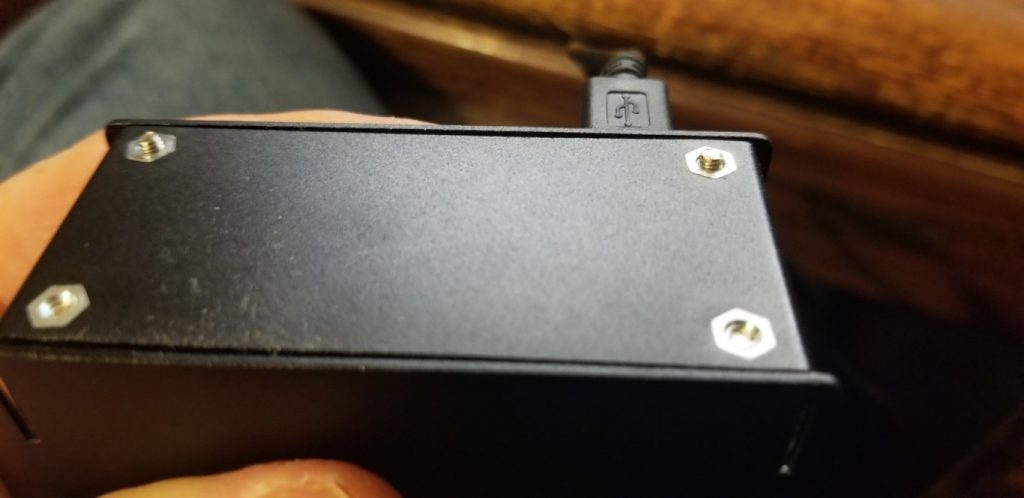
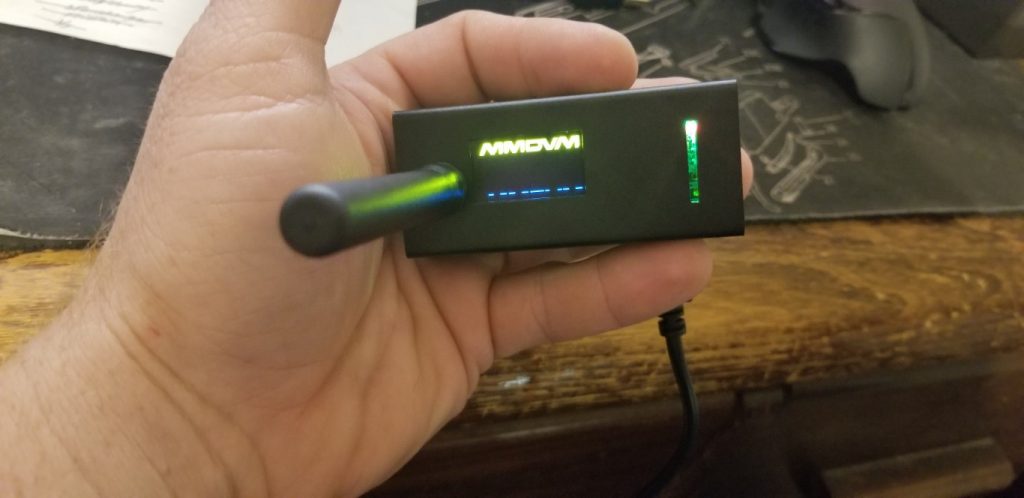
This article was a bit of an afterthought to the build and so I am missing some photos, such as everything still in its packaging. That said, here are the photos from the build. Pardon the mess, I built this at my computer desk instead of going out to my workbench as I probably should have.

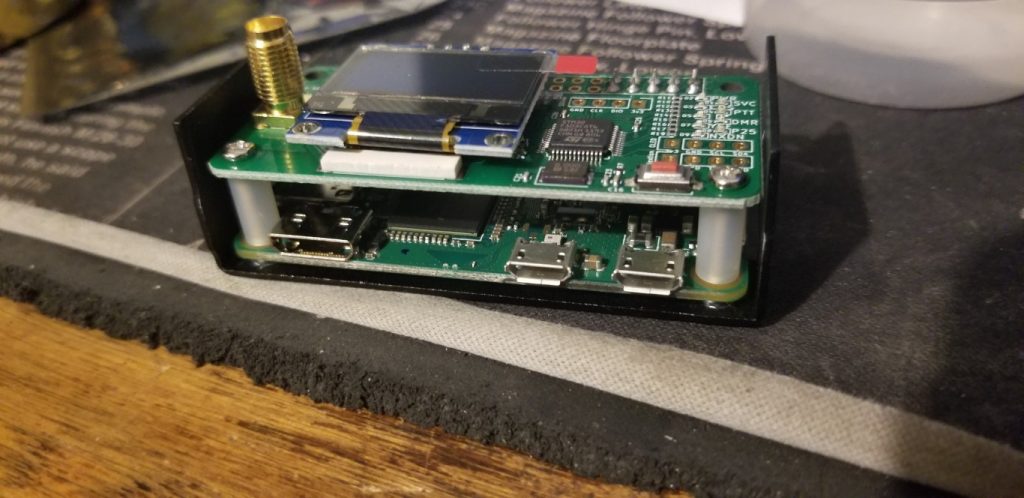
I am not going to go into the configuration details in this article, but do include some links to YouTube that cover that. See the bottom of the article for those links. The unit comes with the needed details (offsets) and there is quite a bit of info online already. My display did not work, as you see above, until the first few steps of the config were done.
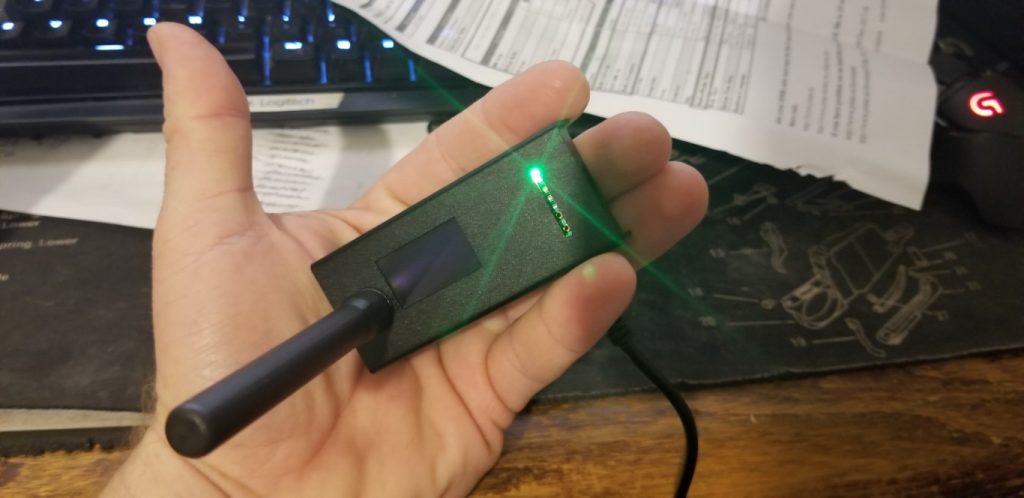
I am unfortunately unable to really test my hotspot as my DMR radio is still on order. I just received notice today that it shipped, so hopefully mid next week I can mess around with it a bit. Update: I have had quite a bit of fun with this radio and hotspot! Still have a lot to learn about them, but so far they work great!
For those who are new to DMR and trying to learn (like me!), John Miklor (K3NXU) has a great bit of information you can read and learn from on his website. Go to that link and scoll down for several tutorial links. There are also a few good groups on Facebook such as DMR Users, the Pi-Star Users Support Group and the Jumbospot and Other MMDVM Hotspot User to User support to name a few. There is also a wealth of information on YouTube, so be sure and spend some time there!
5/9/19: Seeing as how this article is being viewed by people looking for programming and setup instructions, I decided to update it and link a few videos to help out in that regards. I highly recommend the series by: W1MSG HamRadio. There are a ton of good videos out there put out by others as well, so do some searching!
Here are links to a few of his videos. Some of the stuff on the different videos is redundant, but seeing it a few times helps it stick.
Initial setup: https://www.youtube.com/watch?v=B5G4gYDdJeQ
Pi-star part 1: https://www.youtube.com/watch?v=Z5svLP8nEyw
Pi-star part 2: https://www.youtube.com/watch?v=wNCRb3CVPRs